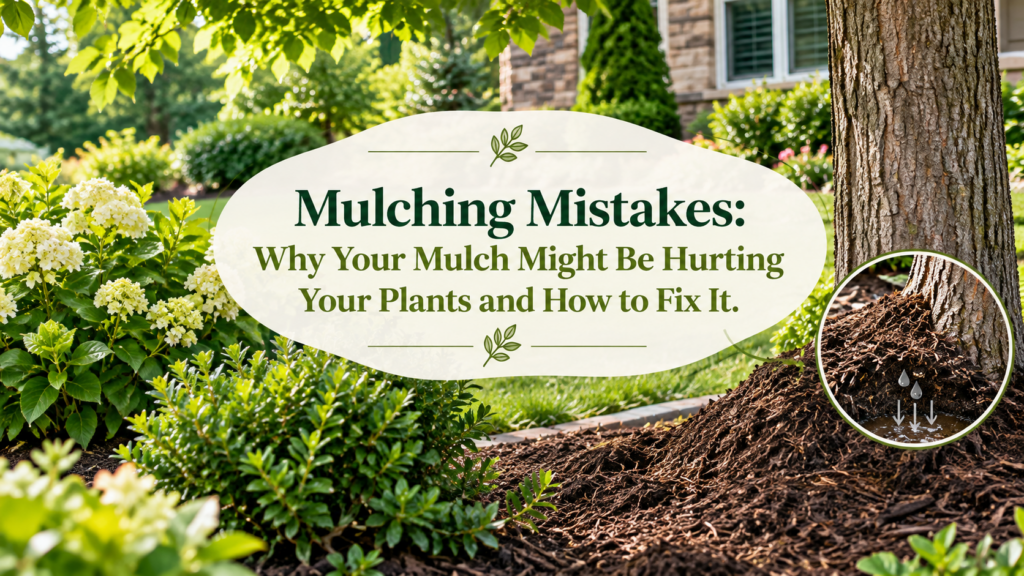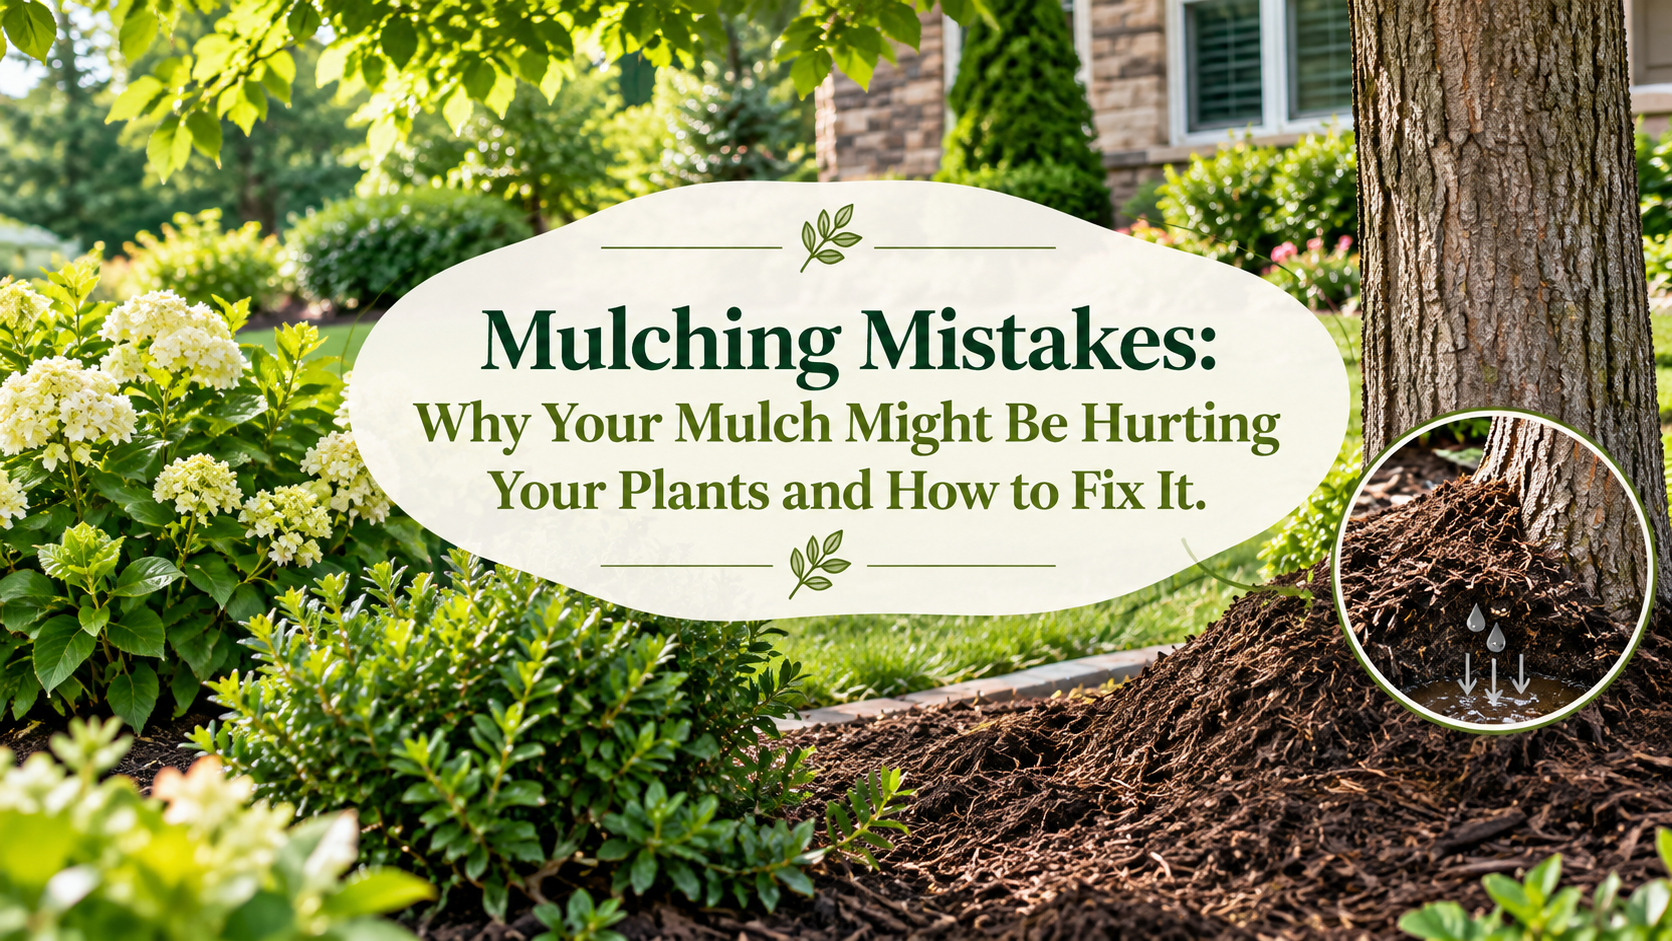
Fresh mulch can make a planting bed look finished in an afternoon. The problem is that a clean surface can hide what is happening underneath.
A layer that is too deep can interfere with air and water movement. Mulch pushed against a tree trunk can keep bark damp. A bed refreshed every spring without checking what is already there can slowly build into several inches of material. Even good mulch can become a problem when it is used in the wrong place or at the wrong time.
These mulching mistakes are easy to make because most of them look harmless at first.
For homeowners in Ellison Bay and across Door County, the better approach is to treat mulch as part of plant care rather than a decorative finish. Ashley’s Property Maintenance LLC provides landscaping and property care across the area, including mulch installation and maintenance for established landscape beds.
Key Takeaways
- More mulch is not better. Existing depth matters before fresh material is added.
- Keep mulch off tree trunks, shrub stems, and perennial crowns.
- Check whether water can reach the soil instead of judging a bed only by surface color.
- Match the material and timing to the plants, soil, and season.
- Correcting a bad layer often means redistributing or thinning it, not stripping the entire bed.
Can Mulch Actually Hurt Plants?
Yes. Mulch can hurt plants when it is too deep, packed against trunks or stems, applied over cold spring soil, allowed to mat into a water resistant layer, or used without checking drainage and existing material. The mulch itself may be fine. The problem is usually depth, placement, timing, or bed condition.
Used correctly, organic mulch helps conserve moisture, limit weed growth, moderate soil temperature, and reduce exposed soil. Used badly, those same properties can work against the plant. UW Madison guidance supports these core benefits while also stressing appropriate depth and application.
That is why a mulch bed should be checked from the soil upward, not judged from the sidewalk.
Mulching Mistake 1: Adding Fresh Mulch Without Measuring What Is Already There
Old mulch fades and settles. The surface can look thin even when two or three inches remain underneath. If another full layer is added every year, the total depth keeps increasing.
UW Madison Division of Extension says high quality wood mulch around trees is generally applied two to four inches deep, with depth adjusted for soil conditions. Lighter, well drained soils can tolerate the deeper end of that range, while heavier soils call for a shallower layer.
Too much material can keep soil excessively wet, interfere with oxygen movement, and create conditions that favor root problems.
How to Fix It
Push a hand trowel down to the soil in several parts of the bed. Measure the full layer, not just the surface.
If plenty of usable mulch remains, loosen and redistribute it. Add only enough new material to restore even coverage.
For a deeper decision guide, read Should You Remove Old Mulch Before Adding New Mulch?. It explains how to check depth, water movement, compaction, plant clearance, and the condition of existing material before adding more.
Mulching Mistake 2: Building a Mulch Volcano Around a Tree
The tall cone of mulch around a trunk has become common enough that it can look intentional.
Tree bark above the root flare is meant to remain exposed to air. When wet mulch stays in contact with bark, moisture can remain trapped around the base. The buried flare also makes it harder to see where the trunk transitions into the main roots.
UW Madison warns that piling wood mulch against a tree trunk can keep bark excessively wet and contribute to decay.
How to Fix a Mulch Volcano
Pull the material away until you can see the root flare.
Spread the excess outward over the root area instead of leaving it in a mound.
Think doughnut, not volcano.
That simple shape is easier for homeowners to remember and helps keep mulch where it provides value instead of against the trunk.
Mulching Mistake 3: Covering Shrub Stems and Perennial Crowns
Trees are not the only plants that need breathing room.
Shrubs and perennials can also suffer when mulch is packed tightly around the base. Moisture held against living stems can promote decay, while buried crowns may stay wetter than the plant prefers.
Do This, Not That
Do this: Spread mulch over the root zone and taper it down as you approach stems and crowns.
Not that: Form small mounds around every plant.
If a shrub is already declining, mulch placement is only one thing to check. Watering, planting depth, drainage, and transplant stress can create similar symptoms.
Ashley’s guide on why new shrubs may be dying explains those additional causes and how to separate a mulch problem from a broader planting problem.
Mulching Mistake 4: Applying Mulch Too Early in a Cold Wisconsin Spring
Mulch insulates soil.
That is useful once you want to slow moisture loss and moderate temperature changes. It can be less helpful when cold spring soil still needs to warm.
UW Madison’s guidance is direct:
“Place organic mulches around annual plantings only after the soil has warmed up.”
The Extension also explains that spring timing in Wisconsin varies by soil type, with sandy soils warming faster than heavier soils.
Do not use the first snow free weekend as an automatic mulch date.
Check whether the ground is still cold, saturated, or partly frozen first.
Why the Local Climate Matters
Current NOAA 1991 to 2020 climate normals for the Sturgeon Bay Experimental Farm list 57.4 inches of mean annual snowfall. This is the one supporting climate statistic used in this article.
View the NOAA Sturgeon Bay climate normals.
The point is not to add more mulch simply because Wisconsin receives snow.
The important issue is what beds experience through winter and early spring: snow cover, snowmelt, freezing, thawing, displaced material, saturated areas, and debris.
Inspect first. Refresh second.
Mulching Mistake 5: Using the Wrong Mulch for the Bed
There is no single material that fits every planting area.
Large wood chips or shredded bark can work well around established trees and shrubs because they last. Finer organic material may make more sense where beds are replanted often. Stone can fit certain non planting areas, but it does not behave like decomposing organic mulch.
Before choosing a material, ask four practical questions:
- What is growing in this bed?
- How often will the bed be replanted?
- Is the site windy, sloped, wet, or exposed?
- How quickly should the material break down?
Which Mulch Fits Which Area?
| Bed Type | Better Starting Point | Main Reason |
| Established trees and shrubs | Shredded bark or wood mulch | Durable surface coverage |
| Perennial beds | Bark, leaf based mulch, or compost where appropriate | Easier to work around plants |
| Frequently replanted beds | Finer organic material | Easier to move and refresh |
| Decorative paths or non planting areas | Stone may fit | Long lasting surface |
Material choice is only the starting point.
Drainage, existing mulch, plant spacing, soil type, and how the bed is used still matter.
Mulching Mistake 6: Ignoring a Matted or Water Resistant Layer
Old shredded mulch can form a crust.
The surface may look wet after rain while the soil below stays surprisingly dry because water is moving sideways instead of soaking through.
That means a bed can appear well watered without the root zone receiving what plants need.
Try the Five Minute Water Test
- Choose an area away from the bed edge.
- Pour water slowly over the mulch.
- Wait about five minutes.
- Pull the material aside.
- Check whether the soil underneath is damp.
If water has not reached the soil, rake through the full layer and break up compacted areas.
Test again before adding anything new.
Watch for smell too.
UW Madison says improperly composted or “sour” mulch can smell like vinegar, ammonia, or sulfur. Its guidance recommends removing sour material rather than burying the problem under another layer.
Mulching Mistake 7: Using Mulch to Hide a Drainage Problem
Mulch can soften the appearance of a low spot.
It cannot correct the grade.
If water pools after rain or snowmelt, adding more material can make the problem harder to see while plant roots remain in poorly aerated soil.
Warning signs include:
- Standing water after rainfall
- Mulch repeatedly collecting in one low area
- Soil that stays muddy while surrounding areas dry
- Several plants declining in the same section
- Persistent sour or stagnant odors
Fix the water problem before refreshing the surface.
Some situations may need only redistribution or cleanup. Others may point to grading, runoff, soil compaction, or drainage conditions that should be addressed separately.
Mulching Mistake 8: Leaving Weeds and Debris Under the New Layer
Mulch can reduce light reaching new weed seeds.
It does not make established perennial weeds disappear.
If rooted weeds, diseased leaves, trash, and thick seasonal debris are covered first, the bed may look clean temporarily while the original problem continues underneath.
Preparation matters.
Pull established weeds. Remove problem debris. Check edging and drainage. Then decide how much mulch the bed actually needs.
This is one reason professional installation should involve more than calculating square footage.
Ashley’s professional mulching services in Ellison Bay begin with a review of existing bed conditions, plants, approved coverage areas, and surrounding landscape rather than assuming every bed needs the same treatment.
How Do You Fix a Bad Mulch Job Without Starting Over?
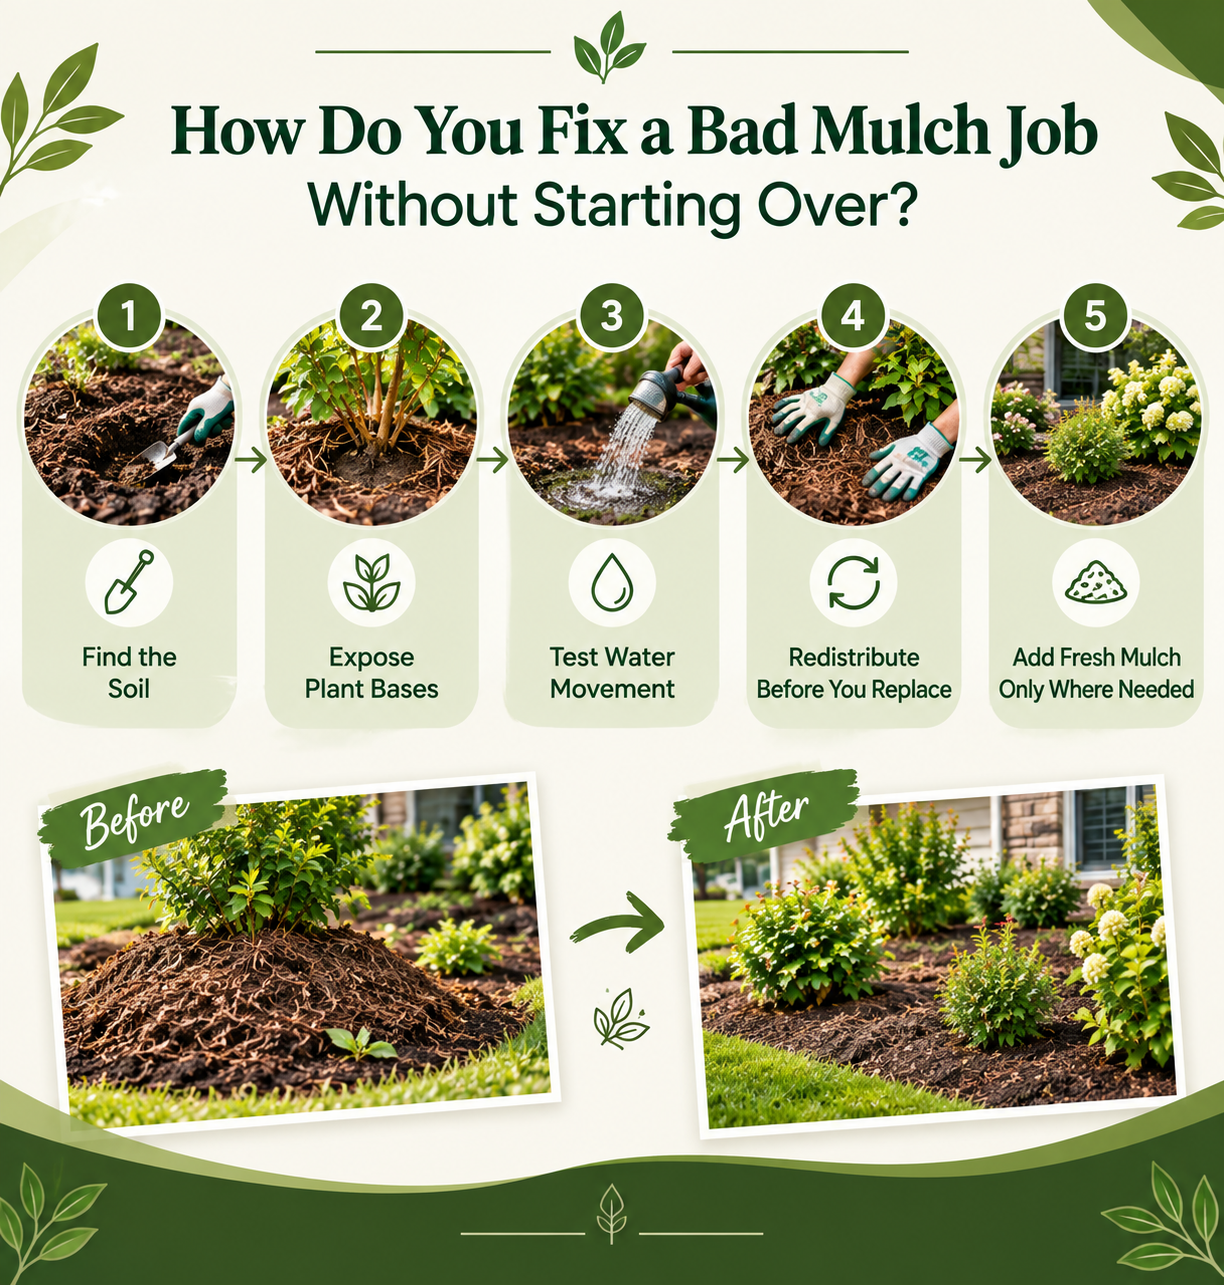
Most mulch problems do not require complete removal.
Use this five step reset.
Step 1: Find the Soil
Pull mulch aside in several places.
Confirm the true soil level and measure the material that is already present.
Step 2: Expose Plant Bases
Clear tree trunks, shrub stems, and perennial crowns.
Find the visible root flare on trees.
Step 3: Test Water Movement
Water a small area and check whether moisture reaches the soil.
Break up crusted or compacted material when it does not.
Step 4: Redistribute Before You Replace
Move excess material from deep areas into thinner areas.
Remove only what is unhealthy, contaminated, sour, badly compacted, or truly excessive.
Step 5: Add Fresh Mulch Only Where Needed
Finish at a depth appropriate for the plants, soil, and mulch texture.
Keep plant bases clear.
This approach corrects the problem instead of covering it.
A Door County Example: The Bed That Looks Thin but Is Actually Too Deep
Picture an established foundation bed in Ellison Bay.
The surface mulch has faded after winter. Near the sidewalk, only a thin layer remains. Behind the shrubs, several years of previous top dressings have settled into a much deeper layer.
From the street, the whole bed looks ready for fresh mulch.
A closer check shows three different needs.
The sidewalk edge needs a small top dressing.
The middle needs raking.
The back needs excess material pulled away from shrub stems and redistributed.
This is an illustrative scenario, not a client case.
It shows why applying the same amount across an entire landscape bed can be the wrong answer.
When Is Professional Mulching Worth It?
DIY mulch work makes sense when beds are small, easy to reach, and already in good condition.
Professional help becomes more useful when old material has accumulated, mature trees are involved, several beds need correction, access is difficult, drainage questions are present, or seasonal cleanup and mulch work need to happen together.
Ashley’s mulching service is the most direct option for approved landscape and planting beds.
When overgrowth, seasonal debris, pruning, or general bed upkeep are also part of the problem, landscape maintenance services in Ellison Bay may be the more relevant starting point. Ashley’s describes that service as seasonal care for established beds, shrubs, gardens, trees, and other planted areas.
Final Thoughts: Good Mulch Should Help the Bed, Not Bury It
Most mulching mistakes come from doing too much of something that is helpful in the right amount.
Too much depth creates buildup.
Too much contact buries trunks and stems.
Applying mulch too early can cover cold spring soil before it has warmed.
Fresh material can also hide drainage problems, weeds, or old compacted mulch.
The better habit is simple: inspect first.
Measure what is already there, expose plant bases, test water movement, and correct the bed before spreading anything new.
When those basics are right, mulch can cover soil, reduce moisture loss, moderate temperature changes, and give the landscape a cleaner finish.
If your beds need more than a light rake and top dressing, Ashley’s Property Maintenance LLC can review their current condition and help determine the next practical step.
Need Help Correcting Your Landscape Beds?
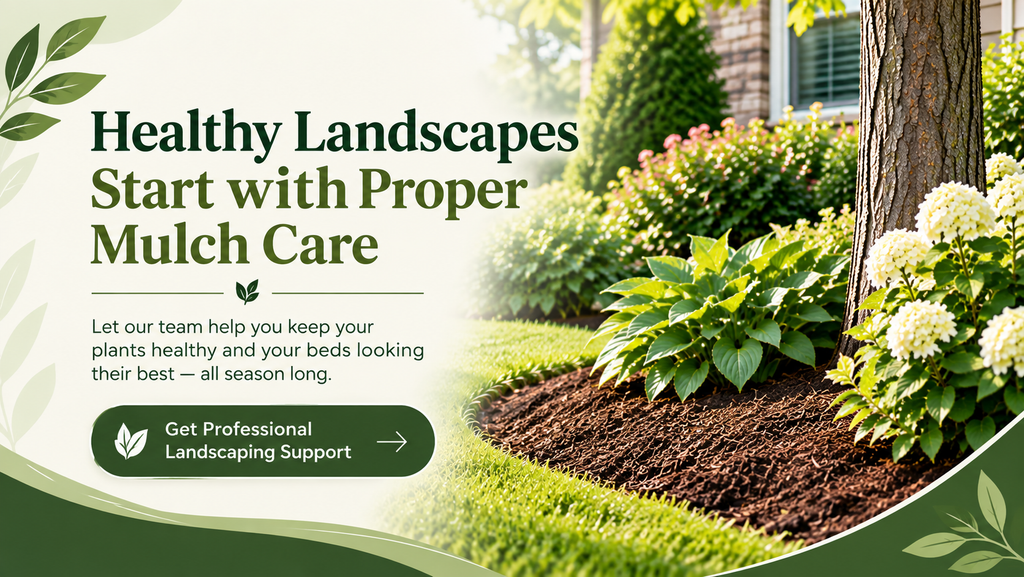
If the mulch looks uneven, too deep, compacted, or piled against plants, another full layer may not be the answer.
Ashley’s Property Maintenance LLC can review approved planting areas, discuss what the beds currently need, and provide a defined mulching or landscape maintenance scope for qualifying properties in Ellison Bay and Door County.
Start by sharing the property location, the beds that need attention, and photographs of the current condition.
Frequently Asked Questions
What are the most common mulching mistakes?
The most common mulching mistakes are applying too much material, piling mulch against trunks and stems, adding fresh mulch without checking the old layer, ignoring drainage, choosing an unsuitable material, and covering cold spring soil too early.
Most of these problems can be corrected without replacing the entire bed.
Can too much mulch kill plants?
Yes. Excessive mulch can interfere with air and water movement, keep soil too wet, bury crowns, and create poor conditions around roots.
The appropriate depth depends on the mulch texture, soil, and plant type, which is why existing material should be measured before more is added.
How can I tell if my mulch is too deep?
Push a hand trowel through the mulch until you reach soil, then measure the layer in several locations.
Check near the border, between plants, and behind shrubs. Mulch frequently shifts or accumulates unevenly, so one measurement does not tell you what is happening across the whole bed.
Should mulch touch a tree trunk?
No. Keep mulch away from the trunk and leave the root flare visible.
A broad, relatively flat mulch ring over the root area is better than a cone piled around the bark. This reduces prolonged moisture contact with the trunk.
Why is water running off my mulch instead of soaking in?
Older shredded mulch can mat or develop a crust, causing water to move across the surface instead of reaching the soil.
Loosen the entire layer with a rake, test it with water, and check the soil underneath before spreading new material.
Is mold in mulch bad for plants?
Not always. Organic mulch naturally supports fungi as it decomposes.
A few mushrooms or patches of surface fungus may not indicate a plant problem. Sour odors, slimy material, poor drainage, or nearby plant decline are stronger reasons to inspect the mulch and soil more closely.
When should I mulch in Wisconsin?
Wait until spring soil has warmed instead of automatically applying organic mulch as soon as snow disappears.
The best timing depends on soil type, shade, drainage, weather, and the plants in the bed. UW Madison specifically advises waiting for soil to warm before applying organic mulch around annual plantings.
Read UW Madison’s complete mulch guidance.
Should I remove old mulch before adding new mulch?
Not automatically.
Keep old mulch when it is loose, clean, draining properly, and still at a reasonable depth. Thin or remove it when it is excessively deep, compacted, sour, contaminated, or piled against plant bases.